Transplant outside
4–6 weeks before last frost
Beds strongly preferred; containers restrict the spreading root system and reduce vigor and yield. In containers: 15-gallon pot minimum, wide and deep. Space plants 18 inches (45 cm) apart.
A vigorous perennial whose buds, open flowers, and young shoots are all edible — and whose spreading clumps reward division every few years.
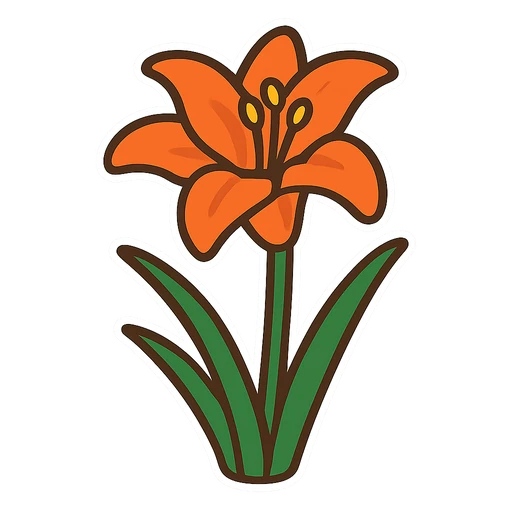
Hemerocallis fulva · also called tawny daylily, common daylily
As soon as the ground can be worked, 4–6 weeks before last frost.
6–8 weeks before first fall frost, to allow roots to establish.
Every part of the plant offers a different harvest across the season: tender spring shoots, swelling flower buds, and open blooms. The plant requires almost no inputs once established and returns reliably each year.
A little history. Native to eastern Asia and naturalized widely in North America; spreads by fleshy rhizomes (underground stems) and tuberous roots. Each flower opens for a single day, giving the genus its name.
Beds strongly preferred; containers restrict the spreading root system and reduce vigor and yield. In containers: 15-gallon pot minimum, wide and deep. Space plants 18 inches (45 cm) apart.
Deep soak once or twice a week during active growth and bud set; reduce after bloom. Water when the top 2 inches of soil feel dry or foliage begins to look dull. Aim for about 1 inch per week including rain.
Side-dress (scatter fertilizer along the row and water in) once in early spring and once at bud set. What to use: balanced compost or a low-nitrogen 5–10-10 organic fertilizer; excess nitrogen favors leaves over buds.
Remove spent flower stems at the base after all buds on that scape (flower stalk) have opened. Divide crowded clumps every 3–4 years in early spring or fall to maintain vigor and harvest yield.
It's ready when shoots: 4–6 inches tall in spring. Buds: plump and fully formed but not yet open. Flowers: harvest open blooms the morning they open, before midday. Snap or cut shoots at soil level. Pinch buds cleanly from the scape. Twist or snip open flowers at the base of the petal tube. Leave at least half the buds on each scape to allow continued bloom.
Use buds and flowers the same day — they wilt within hours. Buds keep 1–2 days refrigerated in a sealed bag. Shoots keep 3–4 days refrigerated.
Not applicable — a single established clump provides a rolling harvest of shoots in spring, buds in early summer, and open flowers through the bloom period.
No action needed in most climates; foliage dies back naturally. In very exposed sites, a light mulch of straw over the crown after the ground freezes helps prevent frost heave.
Both are long-lived clump-formers that want steady moisture and tolerate part shade, so they share a bed without fighting. Hosta's broad low leaves fill the gap left when daylily foliage thins after bloom.
Its open daisy flowers are easy landing pads for hoverflies, lacewings, and tiny parasitic wasps, whose larvae work through the aphids that cluster on daylily flower stalks and buds.
Gardeners have long paired the two: both are tough, deep-rooted clumps with similar water and sun needs, and the grasses carry the planting after daylily bloom ends. Keep clumps 18 inches apart so airflow stays good.
Coneflower's long nectar season keeps bees and butterflies moving through the bed while daylily blooms come and go, and its upright habit does not crowd the daylily crown.
 Onion
Onion
Old companion charts keep daylilies away from the onion family, though no mechanism has been demonstrated. The practical objection is real enough: lifting onions each year disturbs the daylily's fleshy roots.
 Garlic
Garlic is said to sit poorly with daylilies on traditional charts. What you can count on is the digging: garlic is planted and lifted on its own schedule, and that spadework tears through spreading daylily roots.
A perennial — it holds its spot for years, so it sits outside the annual rotation.
A perennial that holds its ground, so no rotation gap applies and nothing follows it in the bed. It is a moderate feeder that builds a dense root mass; top-dress with compost each spring rather than replanting. When you divide, give the leftover space a season of compost before setting anything new there.
Set your garden's location and every window above becomes a real date — then Verdie reminds you when it's time to sow, transplant, water, and pick.